You paddle out early. The water is calm. The light is soft. You hold your camera in one hand, your paddle in the other, hoping to catch the shot you came for. But by the time you’re ready, the moment’s gone. That’s the hard part about kayaking photography—there’s no pause button.
Most people miss the perfect photo because they try to take it too late. Others don’t prepare at all. And some give up after one bad shot. If you’ve ever struggled to capture what you see on the water, you’re not alone. But you can change that.
There’s a way to photograph from your kayak without tipping, fumbling, or missing the scene. There’s a method to spotting the perfect frame before it happens. And there’s a way to make your photos feel like the viewer is right there in the water with you.
Choosing the Right Gear Makes All the Difference
Let’s start with the gear, but not the fancy kind. You don’t need the newest camera or an expensive setup. What you really need is something that works well in a kayak—small, light, splash-proof, and easy to grab. The best gear is the kind you’ll actually use when the moment appears.
Waterproof cameras are helpful, but they’re not your only option. A basic DSLR or mirrorless camera can work just fine if you store it safely. Use a dry bag or waterproof case to protect it from splashes and drops.
Add a wrist strap so you don’t lose it if your hand slips. These simple steps keep your expensive gear safe while still giving you access to high-quality shots.
Action cameras are great if your hands stay busy or you want wide-angle video. You can mount them to your kayak or helmet for hands-free shooting. Many have voice control, which makes it easy to start recording while paddling. They’re small, tough, and made for movement—perfect for kayak trips where every second counts.
Smartphones can work well too. But only if you protect them properly. Use a floating waterproof case so you don’t lose it in the water. A flexible mount attached to your kayak can hold your phone steady while you paddle. This gives you quick access and keeps your hands free when needed. You’d be surprised how good phone cameras are in the right light.
Keep your camera or phone within arm’s reach. Don’t zip it into three layers of bags. If you need to twist around and dig every time, you’ll miss the shot. Instead, use bungee cords on your deck or strap the case to your cockpit. Quick access makes the difference between catching the eagle’s wings in the air and just seeing the splash after it’s gone.
Think about what you want to shoot and pack accordingly. Want close-ups of birds? Bring a zoom lens. Want wide views of the lake? Use a wide-angle lens. But don’t bring everything. Too much gear makes setup hard and slows you down. Pick one or two tools that match your goal. Simplicity helps you stay focused on the water, not your backpack.
Balance is key. A heavy bag or lens can tip your kayak. Keep weight low and centered. Distribute your gear so it doesn’t all lean to one side. If something feels off, stop and fix it before paddling into open water. A balanced kayak makes it easier to focus on your shot—not on staying upright.
Don’t forget cleaning tools. Water spots ruin great photos. Bring a small lens cloth or towel. Store it in a dry pocket or under your seat. Wipe your lens often, especially after hitting waves or taking close-up shots near the water. Clear glass means sharp images, and sharp images mean powerful results.
A few smart choices at the beginning of your trip can save hours of frustration later. Choose gear that matches your skill level, your space, and your goals. Make it easy to use, fast to reach, and safe to carry. When you do that, you’ll be ready when that perfect shot comes into view.
And it will come.
Set Up for Success Before You Launch
You won’t get good shots if you spend the whole trip getting ready. Set everything up before you push off. Turn your camera on. Check the battery. Clean the lens.

Power Up and Prep Your Camera Before You Launch
Don’t wait until you’re floating to power on your gear. Turn your camera on before you get in the water. Make sure the battery is fully charged and working. If your camera dies halfway through, you won’t get a second chance. Always double-check your memory card too. It should be empty, working, and properly inserted.
Also, clean your lens before the trip begins. Smudges or dust can ruin all your shots. Use a microfiber cloth or lens wipe—not your shirt. Take the time to start with a clean lens so you don’t waste great moments on blurry images.
Set Camera Settings for Conditions Ahead of Time
Trying to change your camera settings while paddling is not easy—or safe. Set your camera before launching. If the weather is sunny and bright, use a fast shutter speed to freeze movement. That keeps your shots sharp, even if the kayak is wobbling.
If you’re paddling during sunrise or sunset, light will be lower. So raise your ISO and open the aperture. That helps your camera take in more light without slowing down the shutter too much. Always test a few shots near shore to see how your settings perform. Don’t adjust things once you’re in the middle of the water.
Keep a Dry Towel or Lens Cloth Within Reach
Water droplets on your lens will ruin a perfect shot. To fix that fast, keep a dry towel or lens cloth close. Don’t bury it in a backpack or under gear. Tuck it in your lap, under a bungee cord, or inside a chest pocket on your vest.
Make sure it’s easy to grab with one hand. If water splashes onto your lens, you should be able to wipe and shoot again in seconds. A clean lens means clear images, and a single wipe could save your best photo of the day.
Plan Your Route Based on Where the Sun Will Be
Light makes or breaks your photo. So always think about sun position before choosing where and when to paddle. In the morning, light comes from one side. In the afternoon, it comes from the other. Decide which direction gives you better angles and clearer shots.
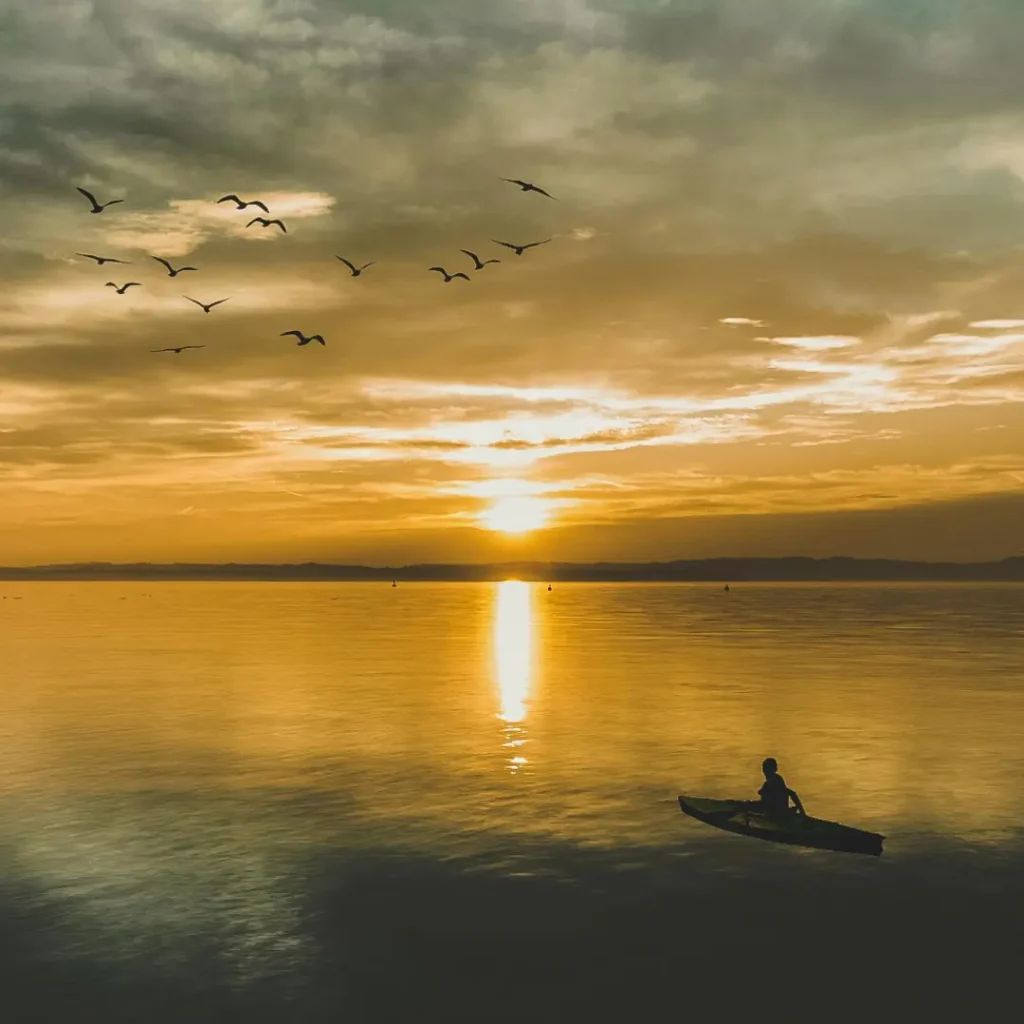
If you want backlighting—like shadows or glowing edges—paddle toward the light. If you want sharp color and details, keep the sun behind you. Planning for the light means fewer editing problems later. It also helps you find the best mood and shape in your photos. Great photos are rarely accidental—they come from careful planning.
Arrive Early and Get in Position Before the Scene Happens
Nature doesn’t wait. Birds fly fast. Clouds shift. Reflections change. If you want a great shot, you need to be in the right place before the moment begins. That means starting early, paddling on time, and reaching your target zone with minutes to spare.
Set up your gear before the action starts. Sit still. Wait. Let your surroundings settle. That quiet time gives you better control, better angles, and a better chance to spot something great before it happens. Being ready is what separates lucky photos from legendary ones.
Timing Is Everything—But It’s Not About Luck
You might think it’s about being lucky. It’s not. It’s about watching carefully and moving with purpose.
Look ahead as you paddle. Don’t stare at the front of your kayak. That’s too late. You need to see what’s coming. A bird might be flying low. A fisherman might cast. A cloud might shift. These are your moments.
Keep your camera ready but don’t shoot at everything. Let scenes build. Wait for a subject to enter the frame. Wait for the light to shift. Take a deep breath and hold the camera steady.
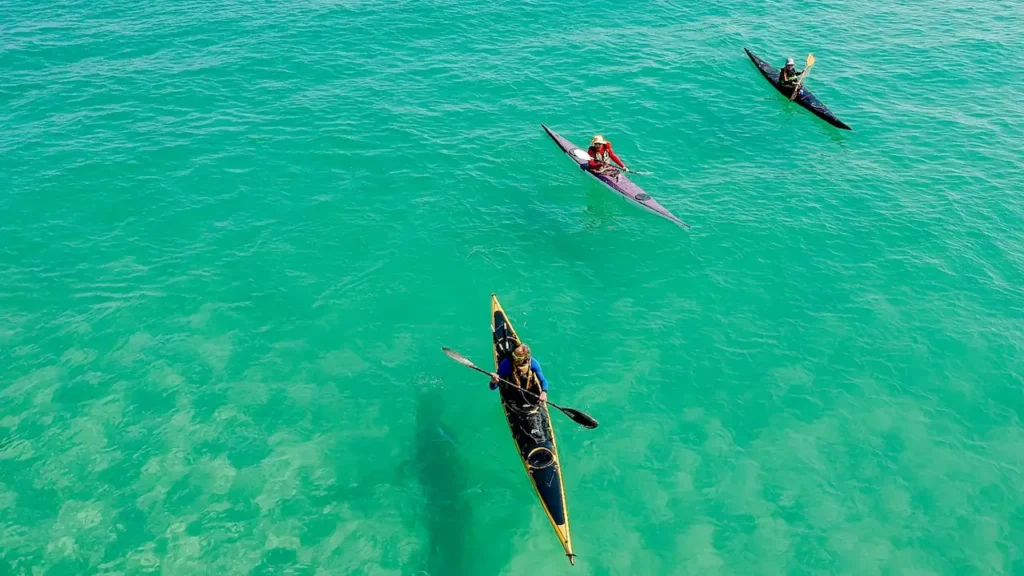
If you’re with someone, use them. A friend paddling in front of you adds depth and story. Position them between you and the sun. Their shape against the light makes the image stronger.
Shoot in bursts if you can. Take several frames quickly. One of them will catch the right ripple, splash, or glance. Review them later. Don’t delete in the kayak.
Safety comes before the shot. Always. One bad decision can flip your kayak or ruin your gear—or both.
Use a wide, stable kayak for photography. Touring kayaks are long but not always stable. A shorter, wider kayak gives you a better platform to shoot.
Never shoot while paddling through rapids or high wind. Find a calm eddy or quiet bay. Let your kayak drift or gently anchor it. That gives you time to focus.
Always wear your life jacket. Keep it snug but make sure it doesn’t block your camera. Don’t hang gear around your neck. If you tip, loose gear can tangle and trap you.
If you’re reaching to take a photo, shift your weight slowly. Keep your paddle on your lap or secured. Don’t lean far out. Use your core to stay balanced.
Keep your trip short if you’re shooting solo. Let someone know where you’re going. Take a waterproof phone or GPS. A great photo means nothing if you get lost or stuck.
How to Make Your Photos Come Alive
You don’t need editing tricks to make your photos strong. You need clarity. You need purpose. And you need to feel something when you look at them.
Start with focus. The subject must be sharp. If it’s blurry, it’s gone. Learn how to lock focus fast, especially on water.
Use natural lines. The curve of a river. The shape of a paddle. The direction of light. These guide the viewer’s eye without words.
Watch the background. A perfect heron means little if there’s a plastic bottle behind it. Move your kayak slightly to fix the frame. Don’t be lazy. One paddle stroke can clean up a shot.
Show scale. A lone kayak in a wide lake. A paddle dipping near a rock wall. A hand in the water. These simple choices help the viewer feel the space.
Take fewer photos. Take better ones. Anyone can shoot 500 frames. But one photo that tells a full story is worth more than all of them.
Use light, not filters. Shoot early morning or late afternoon. That soft light adds warmth without any editing. Avoid midday glare. Overhead sun flattens everything.
After the trip, review your shots slowly. Don’t post right away. Let the best ones rise to the top. Delete the rest. You want your work to stay clean and strong.
Kayaking photography is more than snapping pictures. It’s about choosing moments. It’s about being aware of light, space, and movement. And it’s about staying ready without forcing the scene.
The more you paddle, the more you’ll see. And the more you see, the more chances you’ll get to shoot something real. Something that lasts.
Don’t worry about being perfect. Worry about being present. The best kayak photos come from people who know when to paddle, when to wait, and when to press the button.
Take the shot. Capture the moment. And bring the water home with you.


