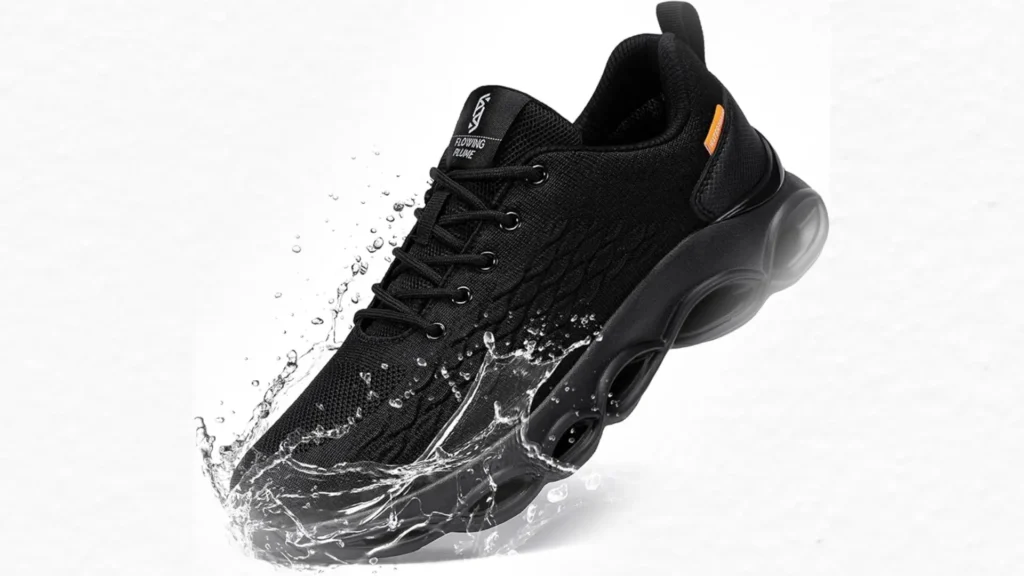
Waterproofing your footwear is an essential step to protect them from rain, and moisture. While there are plenty of commercial products available for this purpose, you can also waterproof your shoes at home using simple techniques and materials. In this article, we’ll guide you through the process of waterproofing your shoes with easy-to-follow steps.
Why Waterproof Your Shoes?
Waterproofing your shoes is a game-changer for longevity. Here’s why it’s worth the effort:
First, water can seriously damage your shoes. Leather, suede, and fabric aren’t naturally built to handle constant moisture. When they get wet, they can break down over time.
Leather might stiffen and lose its shape, while fabric shoes can start to fray or fade. Waterproofing creates a barrier to keep water out.
Second, it’s about comfort. Wet shoes mean wet feet, and that’s a recipe for misery. Waterproofed shoes keep you dry and comfortable. They are a must for rainy days.
Third, moisture invites problems beyond just discomfort. Wet shoes become a breeding ground for mold, mildew, and bacteria. This leads to unpleasant odors and health risks. A waterproof layer helps prevent this.
Finally, it’s about versatility. Waterproofing turns your everyday kicks into all-weather warriors. You won’t need to swap out shoes based on the forecast or shy away from a hike because of a little mud. It’s a simple upgrade that makes your footwear functional and reliable.
Materials You’ll Need to Waterproof The Shoes
Before starting the process, gather these common household items:
- Beeswax or paraffin wax
- A hairdryer
- Waterproofing spray
- Sponge
- Shoe polish or conditioner
- Old toothbrush
- Towel
- Silicone sealant or duct tape
- Damp Cloth
Step-by-Step Guide to Waterproofing Shoes
Waterproofing your shoes is a straightforward process. It can significantly enhance performance and longevity. Below, we’ll break down each step to ensure you achieve the best results.
Clean Your Shoes
Cleaning your shoes is the foundation of effective waterproofing. Dirt, dust, and grime interfere with the application of waterproofing products. Here’s how to clean your shoes thoroughly:
For fabric shoes, use a soft-bristled brush to remove loose dirt from the surface. Mix a small amount of mild detergent with warm water and dip a sponge into the solution. Gently scrub the exterior of the shoe. Rinse the sponge frequently to avoid spreading dirt. Wipe the shoes with a damp cloth to remove soap residue. Then let them air dry completely.
For leather shoes, wipe the surface with a slightly damp cloth to remove dust and dirt. For tougher stains, use a leather cleaner. Avoid soaking the leather. Excessive moisture can damage it. Let the shoes dry naturally at room temperature.
For suede and nubuck shoes, use a specialized suede brush to gently lift dirt and scuff marks from the surface. If necessary, use a suede eraser to target stubborn spots. Never use water or liquid cleaners on suede unless specifically designed for the material. Allow the shoes to dry completely before moving on to the next step.
Apply Wax for Leather and Fabric Shoes
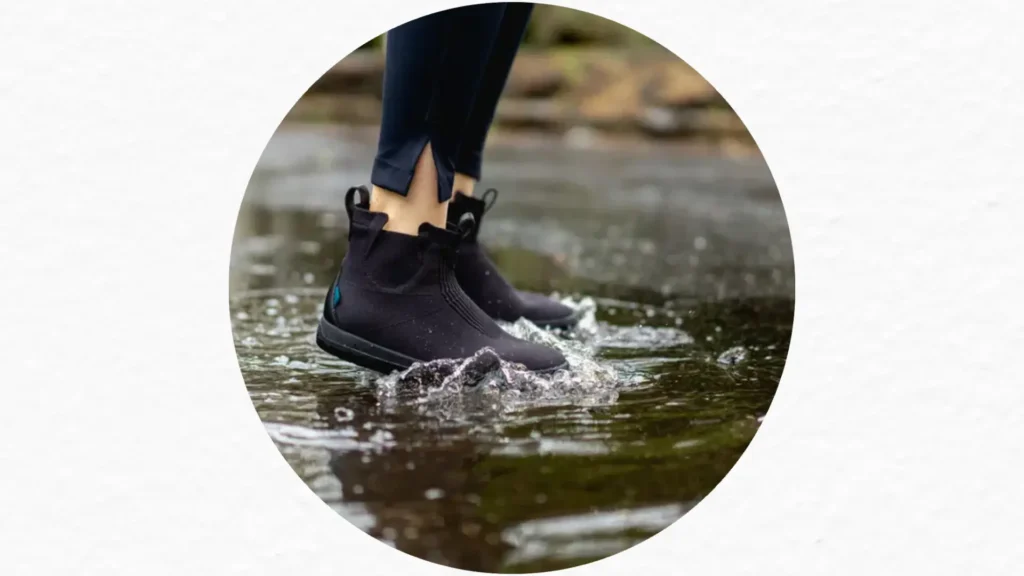
Beeswax is an eco-friendly option for creating a durable water-resistant barrier. It works exceptionally well on leather, and canvas. Follow these steps for optimal results:
Prepare the wax first. Choose high-quality beeswax or paraffin wax. You can also use a premade wax-based product like Otter Wax. For larger shoes, melt the wax in a double boiler to make it easier to apply evenly. Alternatively, rub the solid wax directly onto the shoe surface.
Then apply the wax on the shoe. Using a sponge, cloth, or your fingers, spread a thin, even layer of wax over the entire exterior of the shoe. Focus on high-contact areas such as the toes, heels, and seams, as these are most susceptible to water exposure. Ensure the wax penetrates deeply into the material for maximum protection.
Melt the wax. Use a hairdryer set to medium or low heat to melt the wax into the fabric. Hold the dryer about 6 inches away and move it slowly across the shoe. As wax melts, it will absorb into the fibers, and form a protective coating. Be careful not to overheat the material.
Cool and buff. Allow the shoes to cool completely once the wax has been absorbed. Use a soft cloth to buff the surface lightly. Remove excess wax. For suede shoes, skip this step, as buffing may damage the nap.
Use Waterproofing Spray
Waterproofing sprays offer a convenient and versatile solution for suede, nubuck, and technical fabrics. They’re particularly useful for treating complex designs and hard-to-reach areas. Here’s how to use them effectively:
Choose the right spray. Select a spray formulated for your specific shoe material. For example, use a spray designed for leather on leather shoes and one for textiles on fabric shoes. Look for products labeled “breathable” to ensure the material remains comfortable after treatment.
Then apply the spray on shoes. Shake the can well before use. Hold the nozzle about 6–8 inches away from the shoe and spray an even coat over the entire surface. Pay special attention to seams, stitching, and other vulnerable areas. Avoid oversaturating the material.
Dry and repeat. Allow the shoes to dry for 10–15 minutes in a well-ventilated area. Apply a second coat for enhanced protection, following the same process. Let the shoes cure for at least 24 hours before wearing them in wet conditions.
Seal Seams and Stitching
Seams and stitching are common entry points for water. Reinforcing these areas adds an extra layer of defense against moisture.
Apply a small bead of clear silicone sealant along the seams and stitching lines. Smooth the sealant with your finger or a tool to ensure it adheres properly. Allow the sealant to cure according to the manufacturer’s instructions (usually 24–48 hours).
You can do it using duct tape. Cut strips of waterproof duct tape and carefully wrap them around vulnerable areas. Press the tape firmly to eliminate air bubbles and ensure a secure bond. Trim excess tape with scissors for a neat finish.
Condition Leather Shoes
Leather requires regular conditioning to remain supple and prevent cracking. Conditioning also helps maintain the material’s natural oils.
To waterproof your shoes, choose a conditioner specifically designed for leather shoes. Avoid petroleum-based products. They can dry out the material over time.
Use a clean, lint-free cloth to apply a small amount of conditioner to the shoe surface. Rub the conditioner in circular motions. Work the conditioner into creases and folds to nourish those areas thoroughly.
Let the conditioner sit for 5–10 minutes, allowing it to penetrate the leather. Buff the shoes with a dry cloth to remove excess conditioner and restore shine.
Test the Waterproofing
Before relying on your newly waterproofed shoes in real-world conditions, it’s essential to test their effectiveness. This simple step ensures you won’t be caught off guard by unexpected leaks.
Perform a water droplet test. Sprinkle a few drops of water onto different parts of the shoe, including the toes, sides, and seams. Observe how the water reacts. Ideally, the droplets should bead up and roll off the surface rather than soaking in. If the water absorbs quickly, reapply the waterproofing treatment and allow additional drying time.
Otherwise, simulate rain conditions. Place the shoes under a gentle stream of water (e.g., from a faucet) to mimic light rain. Check for any signs of water penetration. Address weak spots by applying more wax, spray, or sealant as needed.
Waterproofing your shoes at home is a cost-effective and rewarding way to safeguard your footwear. With just a few basic supplies and a bit of effort, you can enhance the durability and performance of your shoes.

