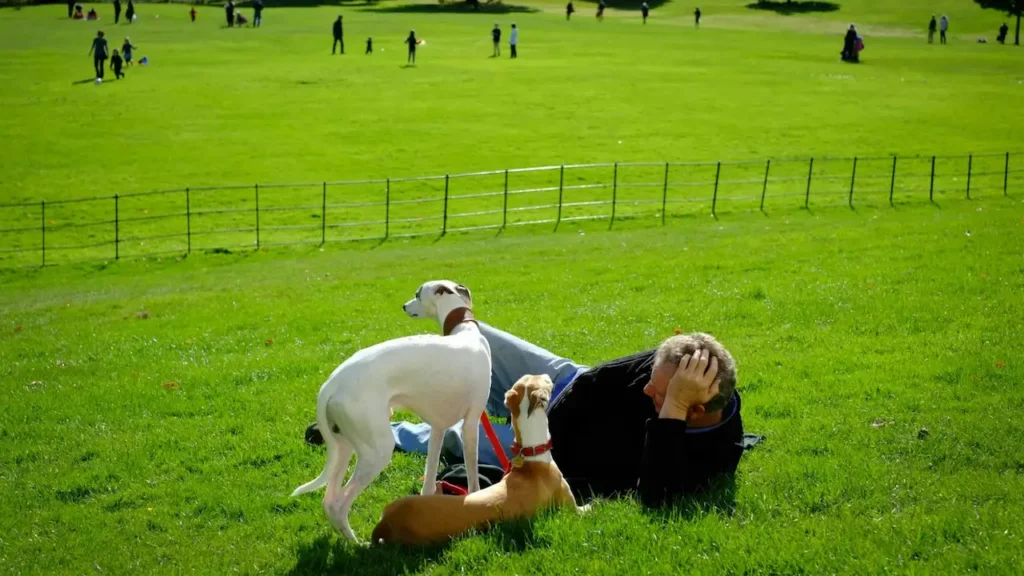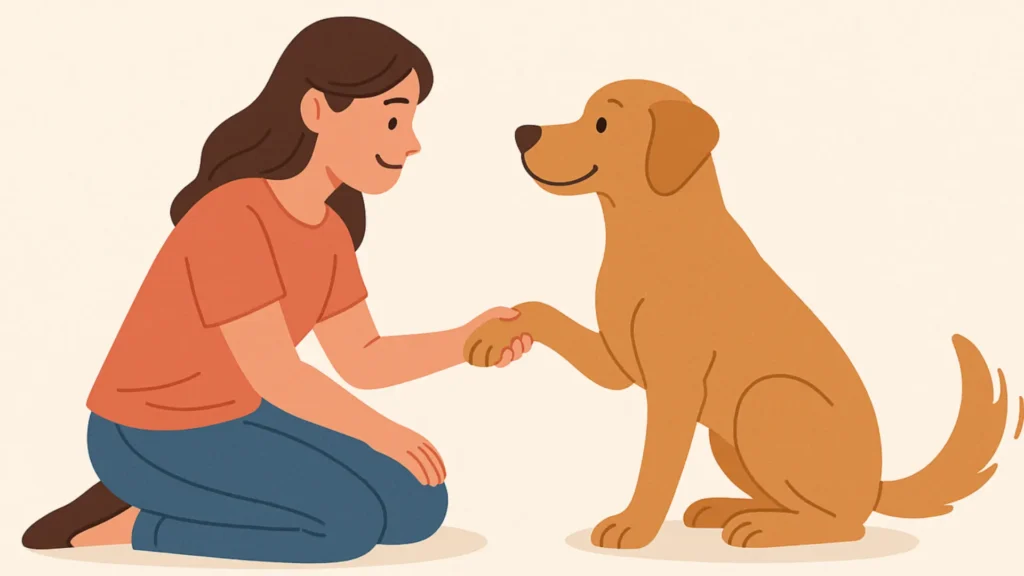
Get some fun. Teach your dog to shake hands. It’s a classic behavior that’s relatively simple to teach. This guide will walk you through the process in detail, offering tips, troubleshooting advice, and insights into canine behavior to ensure success.
Why Teach Your Dog to Shake Hands?
This simple behavior strengthens the bond between you and your canine companion. This process fosters mutual understanding. Your dog begins to see you as a consistent leader, while you gain insight into their responses and personality. Over time, this builds a foundation of trust.
When your dog lifts their paw on command, it’s not just a trick; it’s a sign they’re attuned to you, willing to engage, and confident in your guidance. This improved communication spill over into other areas of your relationship.
Dogs need puzzles to keep their minds sharp. A lack of mental engagement can lead to boredom. Teaching your dog to shake hands provides a constructive outlet for their mental energy. It’s a meaningful challenge that requires focus, problem-solving, and memory. As they figure out that lifting a paw earns a reward, their brain lights up with the satisfaction of learning something new. This mental workout helps them stay content and balanced.
In the eyes of many, shaking hands is the epitome of politeness. Offering a paw instead of jumping up to greet visitors can transform a chaotic introduction into a charming one. This perception makes your dog more welcome in social settings. Plus, the discipline and self-control required to perform the trick on cue reinforce broader obedience.
Dogs pick up some skills while learning to shake hands. They learn focusing on your commands, controlling their body movements, and responding to rewards. These serve as building blocks for complex behaviors.
“Shake” introduces the concept of isolating and moving a specific paw. This is a foundational skill for tricks like “high five,” “wave,” and “roll over.” It also teaches your dog to pay attention to subtle cues.
Learning to shake hands boost confidence. Successfully mastering a trick gives them a sense of accomplishment. This positive feedback loop makes them comfortable interacting with you and others. Practicing “shake” with different people doubles as a socialization exercise. It helps your dog adapt to new faces and situations. A confident dog is more likely to handle unfamiliar environments with ease.
Teaching “shake” also enhances your dog’s proprioception—their awareness of their own body in space. Lifting a paw on command requires them to consciously control a specific limb. This physical coordination can be particularly beneficial for puppies still growing into their bodies and older dogs maintaining mobility.
What You’ll Need
Preparation is key to a smooth training experience. Gather these items before you begin:
- Treats: Use small, high-value rewards like bits of chicken, cheese, or your dog’s favorite treat. They should be bite-sized to avoid overfeeding during training.
- A quiet space: Choose an area free from distractions like loud noises, other pets, or people.
- Patience: Dogs learn at different paces. Bring a calm, positive attitude.
- A clicker (optional): If you use clicker training, have it ready to mark desired behaviors.
Step-by-Step Instructions
Teaching your dog to shake hands is a straightforward process. Break them down into manageable steps. Below is a breakdown of how to teach this trick, with additional insights, variations, and guidance to ensure your dog enjoy the journey.

Step 1: Get Your Dog’s Attention
Start by asking your dog to sit. This positions them in a stable posture. This position is easier for them to lift a paw without losing balance. “Sit” is the foundation for “shake” training.
Hold a treat in your closed fist and let your dog see it. Position it a few inches from their nose to spark curiosity without letting them snatch it. Your goal is to capture their full attention. Watch for perked ears, bright eyes, and a slight head tilt as signs they’re locked in.
Keep your energy upbeat and encouraging. Dogs are highly attuned to human emotions, and a cheerful tone. A a warm “Good boy!” or an excited “Let’s do this!” can make them eager to participate. Avoid a stern demeanor. This might dampen their enthusiasm.
Step 2: Encourage Paw Movement
With your dog sitting, hold the treat just out of reach near their nose. Slowly lower it toward the ground, angling it slightly toward one of their front paws. The downward motion mimics something they’d naturally paw at triggering an instinctive response.
The instant their paw lifts off the ground say “Yes!” in a happy voice (or click your clicker if you’re using one) and immediately give them the treat. Timing is everything. Rewarding too late might reinforce a different action.
If your dog doesn’t lift their paw on their own, don’t worry—some need a nudge. Gently tap the back of their paw with your finger or lift it slightly with your hand while saying “Shake” in a bright tone. Release their paw and reward them right away. This physical cue helps them connect the action with the word.
Some dogs catch on in minutes, while others take days. Breeds with a strong retrieving skill might paw more readily, while more reserved dogs may hesitate. Keep sessions light and fun—stop if they seem bored or frustrated.
Step 3: Add the Command
Right before their paw lifts (as you lower the treat), say “Shake” in a distinct, cheerful tone. Reward them the moment their paw moves after hearing the command. If you reward too late, they might think the reward is for sitting still, not lifting. Precision here builds a strong association.
Practice this 5-10 times per session. Always say “Shake” just before the action. Over time, they’ll start anticipating the command and lifting their paw proactively. If they do this unprompted, jackpot them with extra praise or a bigger treat to reinforce the connection.
Pair the verbal cue with a hand signal for dogs who respond well to visual cues. Many learn faster with both. Keep your signal consistent to avoid confusion.
Step 4: Fade Out the Treat Lure
Gradually reduce reliance on the treat as a lure. Start by holding your empty hand in the same position you used with the treat—near their nose. Then lowered toward their paw—say “Shake,” and wait. If they lift their paw, praise them lavishly (“Yes! Good dog!”) and give a treat from your other hand or a nearby stash.
At first, they might hesitate without the treat visible. Wait 2-3 seconds before repeating the command. If they don’t respond, backtrack to Step 3 with the treat lure for a few more tries, then try again. The goal is to teach them the action itself earns the reward, not just the sight of food.
Once they’re offering their paw reliably, start varying when they get a treat. Reward with praise or a quick pet instead. This intermittent reinforcement strengthens the behavior. This makes it less dependent on constant treats.
Step 5: Refine the Behavior
Now focus on where their paw lands. Hold your hand palm-up at a comfortable height (knee-level for most dogs) and say “Shake.” Only reward them when their paw touches your palm. This teaches them to aim accurately.
Gradually raise the bar. Wait for a firmer paw placement or a slight “hold” before rewarding. For example, if they tap your hand quickly, pause a beat to see if they’ll rest their paw longer. Then reward that improvement.
Practice until they shake without seeing a treat first. Test this by keeping treats out of sight. Reward after they perform. If they nail it, you’ve got a solid trick!
Step 6: Generalize and Proof the Trick
Test the trick in new environments. Start with mild distractions. Reward generously when they succeed despite the chaos.
Ask friends to give the “Shake” command using your same tone and hand signal. This teaches your dog the trick isn’t just for you. It’s a universal skill. Correct any inconsistencies to keep it clear.
Occasionally replace treats with verbal praise, a scratch behind the ears, or a quick play session. This “proofing” ensures they’ll shake even when food isn’t guaranteed. This solidifies the behavior as a habit.
Training Tips for Success
Keep sessions short. Aim for 5-10 minutes, 2-3 times a day. Dogs lose focus if sessions drag on too long.
Stay positive. Never scold your dog for not getting it right. Negative reinforcement can make them anxious and less eager to learn.
Watch their body language. If your dog seems frustrated, take a break and try again later. Be consistent. Use the same word (“Shake”) and hand signal every time. Mixed signals confuse dogs.
Reward progress. Even small steps deserve praise in the early stages.
Dogs learn through operant conditioning. They repeat behaviors that lead to rewards and avoid those that don’t. When teaching “Shake,” you’re using positive reinforcement to encourage paw-lifting. Consistency in your cues and rewards helps your dog form a clear mental link between the command and the action.
Some breeds pick up tricks quickly due to their eagerness to please, while independent breeds (e.g., hounds) might need extra motivation. Regardless of breed, every dog can learn with the right approach tailored to their personality.