You buy smart lights, plugs, locks, and speakers—but they all run in separate apps. You tap here, swipe there, and still can’t control everything from one place. It feels messy and frustrating. That’s where Apple HomeKit changes everything.
HomeKit turns your iPhone into a powerful home controller. You tap one button, and your entire home responds. The lights adjust. The door locks. The thermostat sets itself. And it all works with Siri, so you don’t need to lift a finger.
Most people don’t realize how easy it is to set up. You don’t need technical skills or extra equipment. If you already own Apple products, you’re halfway there. This guide will show you the rest.
What You Need Before You Start
Before you connect any devices, check if you meet the basics. First, you need an Apple device—iPhone, iPad, or Mac—with the latest iOS or macOS. Next, make sure you’re signed in to iCloud with two-factor authentication turned on. This helps secure your home.
You’ll also need a HomeKit hub to control devices when you’re not home. A HomePod, Apple TV, or iPad can do this. If you don’t set up a hub, your devices will only work when you’re nearby.
Finally, confirm that your smart device supports HomeKit. Look for the “Works with Apple HomeKit” label on the box or the product listing. Without this support, the device won’t work in Apple’s Home app.
Step 1: Open the Home App
You don’t need to install anything. The Home app comes pre-installed on every iPhone and iPad. Open it and tap “Get Started.” It will ask for permission to use your iCloud account. Say yes.
Now you’re inside your Home. It may look empty. That’s fine—you’re about to fill it with your smart gear. At the top right, you’ll see a plus (+) button. Tap it to begin.
Step 2: Add a New Device
After tapping the plus button, select “Add Accessory.” Your phone will turn on the camera. This is where the magic starts. Point your camera at the HomeKit setup code on your device or its manual.
HomeKit will recognize the code and start pairing. You don’t have to type anything. If your phone can’t scan the code, tap “More Options” and follow the manual steps. Either way, you’ll be connected in seconds.
Step 3: Name and Assign the Device
Once your device is added, you’ll be asked to name it. This is important. Pick a name that makes sense—such as “Bedroom Light” or “Front Door Lock.” You’ll use this name when talking to Siri.
Next, assign the device to a room. Tap “Room” and choose where it belongs. This helps you control groups of devices later. For example, you can turn off “all lights in the living room” with one command.
Finish the setup and your device appears on your Home screen. You can tap it to turn it on or off, or press and hold for more settings.
Step 4: Create Rooms, Zones, and Scenes
The Home app gives you powerful tools to control multiple devices at once. Start by organizing your devices into rooms. Tap the “Home” icon, go to “Room Settings,” and create a new room. Assign your devices to each room.
Next, set up zones. Zones are groups of rooms. You can create zones for “Upstairs,” “Downstairs,” or “Garage.” This lets you control large parts of the house with one command.
Now it’s time for scenes. Scenes let you control many devices at once. Tap the plus button and choose “Add Scene.” You might create a scene called “Goodnight.” It could turn off the lights, lock the doors, and adjust the thermostat in one tap.
You can create scenes for “Arriving Home,” “Movie Time,” or “Reading.” You decide what actions happen in each scene.
Step 5: Set Automations
HomeKit becomes powerful when it works automatically. Go to the Automation tab in the Home app. Tap “Create New Automation.”
You’ll see several options. One triggers when you arrive home. Another when people leave. You can also set times of day or trigger based on another device’s status.
For example, when your front door opens, you can have the hall lights turn on. Or at 10 PM, the thermostat lowers and the lights dim. You don’t need to remember anything—it just works.
Step 6: Use Siri to Control Everything
Now that your devices are connected, Siri becomes your remote control. Say “Hey Siri, turn off the kitchen lights.” Or “Set the thermostat to 72 degrees.” Siri responds instantly, and your home obeys.
You can also ask for scenes. “Hey Siri, good morning” can trigger your wake-up scene. It might turn on the coffee maker, open the blinds, and read your calendar. You get voice-powered control with zero effort.
Siri also works through your HomePod or Apple Watch. You don’t need to pull out your phone every time. Just say what you want.
Step 7: Control Your Home from Anywhere
If you’ve set up a HomeKit hub, you can control everything remotely. Forgot to turn off the lights before leaving? Open the Home app and tap them off from your office. Want to check if your door is locked? You can do that too.
You’ll also get notifications. If someone opens a window or unlocks the door, you’ll get an alert. This adds peace of mind when you’re away. You stay connected without being tied down.
Step 8: Share Access With Family
Your home isn’t just yours. You can invite family members to control it too. Go to Home Settings, tap “Invite People,” and enter their Apple ID.
Once they accept, they’ll see the same setup. They can control devices, run scenes, and use Siri too. You can also control what they can change. This keeps things safe and simple.
Step 9: Troubleshooting Tips That Actually Work
Sometimes things don’t work right away. If a device won’t connect, reset it and try again. Check your Wi-Fi connection—it should be strong and stable. Restart your phone and make sure your iOS is up to date.
If Siri won’t respond, check if the device name is easy to say. Try renaming it to something short. Also, confirm that the device is assigned to a room. This helps Siri find it.
If the Home app crashes or freezes, force close and reopen it. You won’t lose any devices. Just refresh and try again.
What You Can Connect to Apple HomeKit
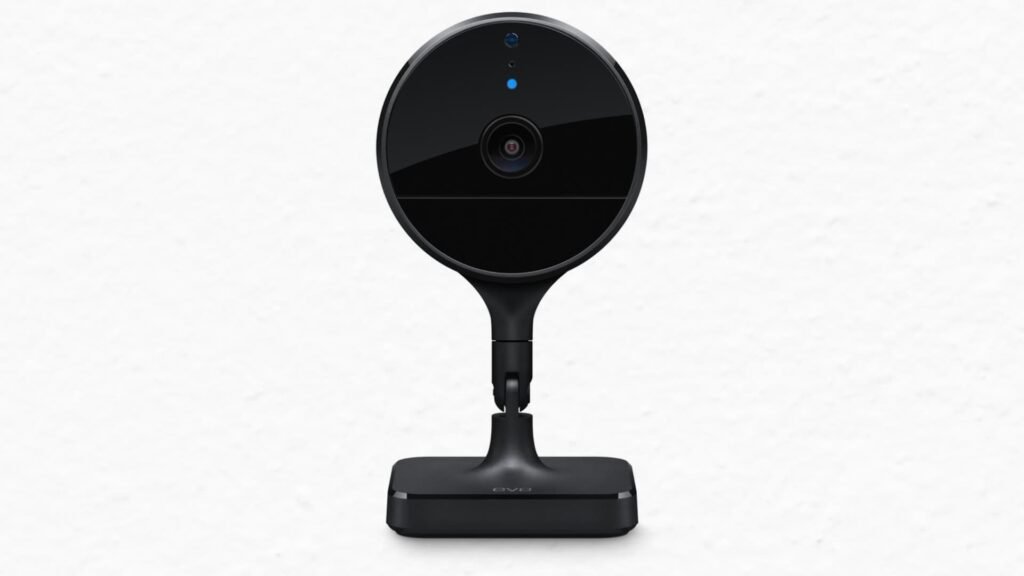
You can connect many devices to HomeKit. Lights, plugs, thermostats, cameras, doorbells, locks, shades, air purifiers, and more. Each one gives you more control.
Some brands that work well with HomeKit include Philips Hue, Eve, Ecobee, Logitech, Wemo, and Schlage. Always check the HomeKit label before buying. This ensures smooth setup and full features.
You can mix and match brands. HomeKit keeps them working together in one place. You never need to jump between apps again.
Keep your device names simple. Avoid special characters or long phrases. This helps Siri understand you better.
Group lights by room and use scenes for common tasks. Start small with one or two automations. Add more once you’re comfortable.
Use secure Wi-Fi. A weak or unstable network breaks the connection. Restart your router if devices go offline.
Update your iPhone, hub, and devices regularly. New updates fix bugs and add new features. This keeps your system running smoothly.
Once your devices are set up, you stop thinking about them. Your home responds automatically. It adjusts to your schedule. It reacts to your voice. It gives you comfort, security, and ease—all in one system.
There’s no need for complicated instructions. No more hunting through separate apps. No messy connections or broken routines. You tap, talk, or automate—and it all works.
Setting up Apple HomeKit isn’t hard. You don’t need to be a tech expert. Just follow the simple steps in the Home app. Add your devices, create rooms and scenes, and start automating.
You’ll wonder how you lived without it. HomeKit turns your home into something smarter, smoother, and more relaxing. And it all starts with just one tap.
If you’ve been putting off smart home setup, now’s the time. Open the Home app, scan your first device, and let your home do the rest. You’re not just connecting gadgets—you’re building comfort that works around you.


