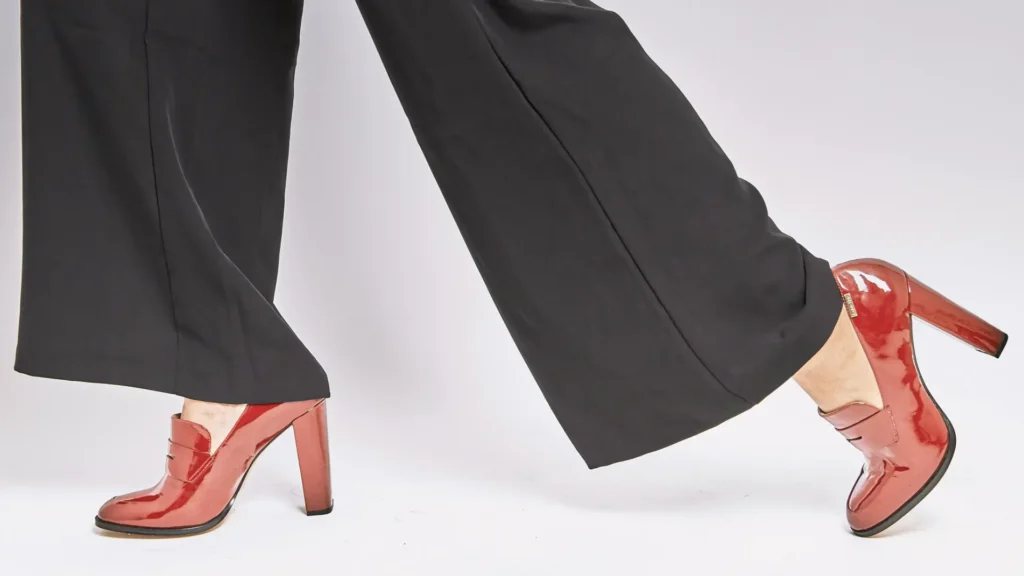
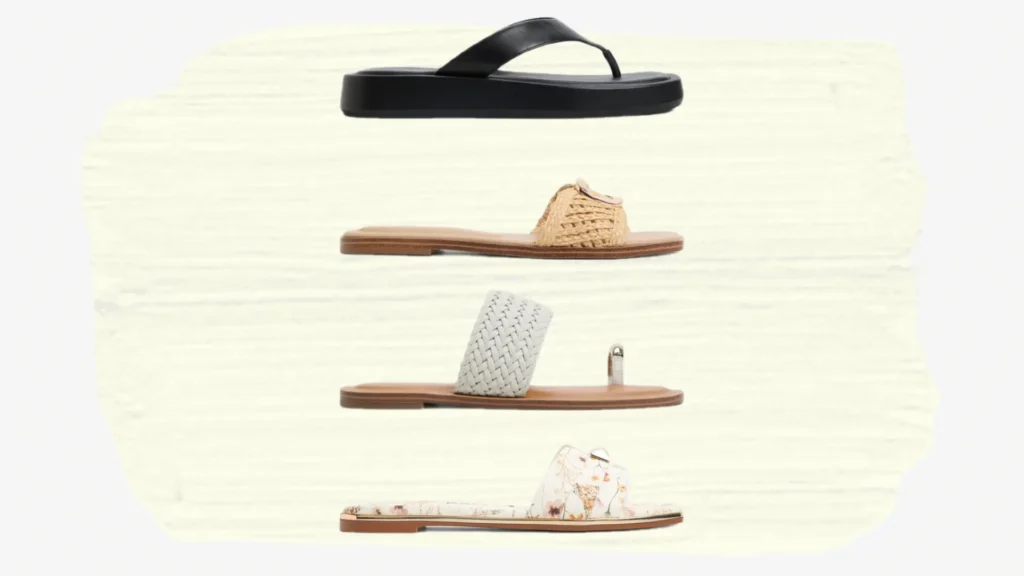
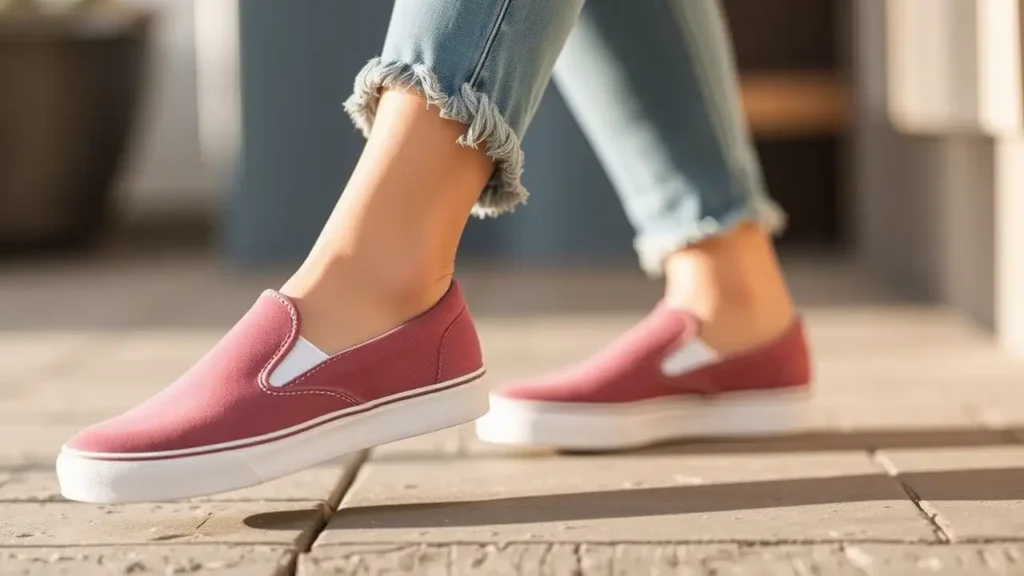
Slipping into a fresh pair of shoes is an excitement. New shoes can bring you pain. But breaking in new shoes doesn’t have to be a painful ordeal filled with blisters and sore spots. With a few simple techniques, you can make your shoes comfortable and ready to wear in no time.
Here’s how to break them in without the agony.
Start Slow: Wear Them Around the House
The secret to breaking in new shoes without turning your feet into a battlefield lies in pacing yourself. Gradual exposure is your best friend here.
Before you think about strutting out for a full day in your shiny new kicks, give them a test run indoors. Start with short bursts—30 minutes to an hour—while you’re doing low-stakes activities.
This controlled environment lets your feet acclimate to the shoe’s shape and stiffness without the pressure of a long outing.
Why does this work? New shoes need time to mold to your unique foot contours. Wearing them briefly at home allows the material to soften and flex without overcommitting your feet to hours of discomfort. Plus, if a hotspot starts forming, you can kick them off and regroup.
To make this step effective, wear socks. A thin pair adds a cushioning layer, while a slightly thicker one can begin gently stretching the shoe.
Stick to natural fibers to keep your feet breathing. If you’re dealing with boots or high-tops, wear them with the laces loosened at first, tightening them gradually over a few sessions. This eases the break-in process for both your feet and the shoe’s structure.
Use Thick Socks for Extra Stretch
If your new shoes feel like they’re hugging your feet a little too tightly, it’s time to bring out the big guns—thick socks. Grab a pair of chunky wool socks, cozy athletic ones, and double up on thinner pairs for extra bulk. Slip them on, then wedge your feet into the shoes.
It might feel awkward at first, but that’s the point. The added volume forces the material to give just a bit.
Walk around for 20-30 minutes, focusing on natural movements. This method shines with leather and canvas. These materials have some natural stretch to them.
Synthetic shoes can be trickier. Go easy to avoid overstressing seams and glued parts.
Want to level up? Pair this trick with a hairdryer. Set it to low or medium heat, hold it about six inches away, and aim the warm air at the tight spots while you’re wearing the shoes. Keep the dryer moving in circular motions for a minute or two per area to avoid scorching the material.
The heat softens the fibers, and the thick socks amplify the stretch as the shoes cool and set to your foot shape. Don’t overdo it. Too much heat can dry out leather and melt synthetic finishes.
Afterward, let the shoes rest for a few hours before wearing them again to lock in the new fit.
Target Tight Spots with a Shoe Stretcher
Sometimes, your shoes need a little more than sock-stuffing to give in the right places. Enter the shoe stretcher. It’s an affordable tool that’s like a personal trainer for your footwear. These devices come in wood and plastic, often with adjustable knobs to target specific areas like the toe box, arch, and heel.
Here’s how to use it: Slip the stretcher into the shoe, aligning it with the tight spot. Turn the handle to apply gentle pressure—emphasis on gentle; you’re stretching, not splitting.
Leave it in place overnight, or up to 24 hours for stubborn pairs. Check the fit in the morning and repeat if needed.
Some stretchers come with small plug-ins for extra-wide toes, letting you customize the process down to the millimeter.
This method is gold because it’s precise and hands-off. Unlike wearing the shoes yourself, it doesn’t rely on your feet to endure the stretching phase, making it completely pain-free. It’s especially clutch for dress shoes where fit is critical but breaking in naturally could take weeks.

Soften Leather with Conditioner or Oil
Leather shoes have a reputation for being stiff as a board when new. But they’re also some of the easiest to break in with the right care. The trick is to soften the leather so it bends and molds without fighting your feet.
Start with a leather conditioner, mink oil, or coconut oil from your kitchen. Each works by penetrating the leather’s fibers.
Grab a soft, clean cloth and dab a small amount of your chosen product. Rub it into the interior and exterior. Focus on stiff areas. Work in small circles to ensure even coverage, then let it sit for 10-15 minutes to soak in. Afterward, wipe off any excess with a dry cloth.
Now, you’ve got options: wear the shoes for a short stint to let your feet shape them, or pop in a shoe stretcher to do the heavy lifting overnight. Either way, the conditioner speeds up the softening process.
Freeze Your New Shoes
It might sound like a science experiment gone rogue. But freezing your shoes is a surprisingly effective way to stretch them without pain. The method hinges on water’s unique property. It expands when it freezes.
Here’s how to do it right: Grab two resealable plastic bags and fill each halfway with water. Seal them tightly, double-checking for leaks. Slip one bag into each shoe, positioning it in the tight spots.
Next, place the shoes in the freezer in a tray to keep them stable. Leave them overnight, letting the water freeze and expand.
As it turns to ice, it gently pushes the material outward. In the morning, take them out, let the ice softens. Carefully remove the bags. Wipe down any condensation with a cloth, then try them on.
This works best for leather, canvas, and sturdy synthetics that can handle the cold and slight moisture.
You might need to repeat the process once or twice for a noticeable difference. But don’t overstretch. Check the fit after each round.
A word of caution: skip this for delicate materials like suede, velvet, and anything with intricate stitching and embellishments. Freezing can damage the texture and weaken glue.
Protect Your Feet with Bandages
Breaking in shoes is a two-way street. While you’re softening the material, your feet need a fighting chance against friction. Your heels, pinky toes, and the tops of your feet are blister magnets in new shoes.
Armor up before you step out. Stock your toolkit with adhesive bandages, moleskin pads, or athletic tape. Each has its superpower.
Bandages are quick and easy: slap one on any spot that’s prone to rubbing. Moleskin takes it up a notch—cut it to size and stick it over larger areas for extra padding.
Athletic tape is the DIY hero: wrap it around toes or heels for a low-profile shield. Apply these before you wear the shoes, even if you don’t feel irritation yet. Prevention beats hobbling home with raw skin.
For maximum protection, pair this with socks during the break-in phase. If you’re breaking in sandals or flats without socks, double up on the moleskin in exposed areas.
If you’ve already got a blister forming, use a hydrocolloid bandage. It cushions while speeding healing. This let you keep breaking in the shoes without a timeout. This step buys your feet time while the shoe’s rough edges soften naturally.
Use Rubbing Alcohol for Quick Relief
When you need a fast fix for tight shoes, rubbing alcohol is your secret weapon. It softens stiff materials and helps them conform to your feet without hours of wear.
Mix a simple solution: equal parts water and isopropyl alcohol. Pour it into a small spray bottle for easy application.
Lightly mist the tight areas—inside and out—focusing on toe box, heel, and sides. Don’t drench them; a spritz is enough to dampen the surface without soaking through.
While they’re still wet, slip the shoes on and walk around for 15-30 minutes. The alcohol evaporates quickly, and soften the material as it dries and molding it to your foot shape.
If you can’t wear them right away, stuff them with newspaper to hold the stretch while they air out.
This trick is a lifesaver for leather. Leather drinks up the solution and relaxes fast. It works decently for some synthetics too.
Walk on Different Surfaces
Once your shoes start feeling less torture devices, it’s time to take them for a real-world spin. Go strategic. Walking on varied surfaces helps flex the soles and upper material in ways that mimic natural wear. This speed up the break-in without overtaxing your feet.
Start indoors. Pace on carpet to ease the sole into bending. Then switch to hardwood to work the stiffness out of the midsole and heel.
When they’re ready for more, head outside for a short stroll. 10-15 minutes on pavement path does wonders.
Each surface challenges the shoe differently. Soft carpets loosen the upper, hard floors break in the sole’s rigidity, and uneven ground forces the whole shoe to adapt.
Pay attention to how they feel. If you sense rubbing, head back and tweak your approach. Gradually increase the time and distance as the shoes soften.
Know When to Get Help
DIY hacks are great, but some shoes are stubborn—or too precious. If you’ve tried stretching, softening, and wearing them in, and they still pinch after a week or two, it’s time to call in a pro.
A cobbler can reshape your shoes with skills and tools you can’t replicate at home. They’ll save you time, frustration, and potential damage.
Cobblers use industrial stretchers, heat machines, and expert hands to tailor the fit. It’s a no-brainer for pricey pairs.
Before you go, wear the shoes for a bit so you can pinpoint the problem areas for the cobbler. Bring socks you plan to use, too. They’ll adjust accordingly.
Breaking in new shoes doesn’t have to be a painful ordeal. By following these simple tips, you can transform uncomfortable footwear into a perfect fit tailored to your feet. With a little effort and care, you’ll soon be striding confidently in your favorite new shoes, free from pain and ready to take on the world.


